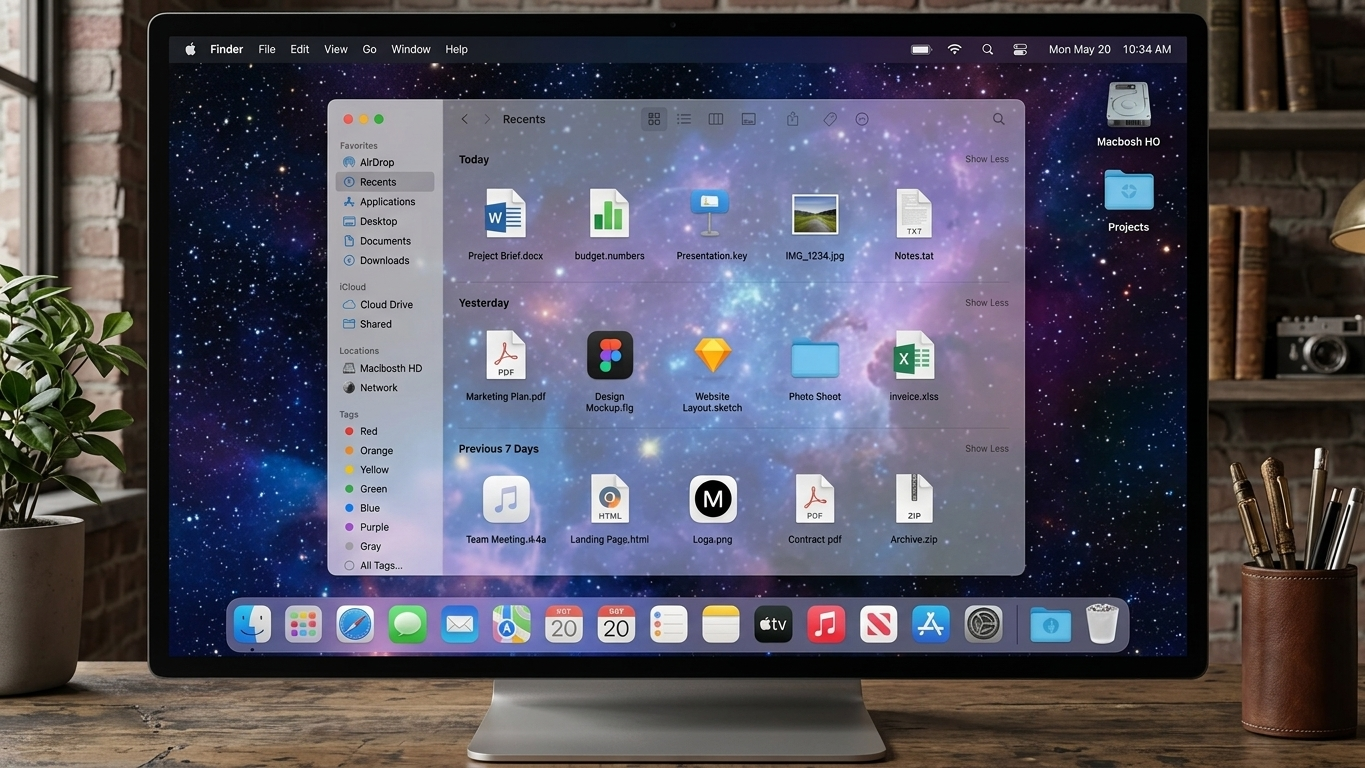
If you have recently switched to a Mac, one of the first tools you should understand is Finder. It is macOS’s built-in file management system and gives you a convenient way to browse folders, locate documents, manage storage devices, and work with files.
Finder may look simple at first, but it includes several useful features that can make everyday tasks much quicker. In this guide, we will walk through the important Finder features and shortcuts you should know.
Also Read: How to Remove Desktop Icons in Windows 10 & 11 (Delete, Hide, or Restore)
What Is Finder on Mac?
Finder is the main file management app included with macOS. Think of it as the place where you can access and organize the files stored on your Mac.
With Finder, you can:
- Create, rename, move, and delete files and folders
- Browse different storage locations
- Search for documents and other files
- Access iCloud Drive
- Connect and manage external drives
- View information about files
- Manage supported Apple devices
- Customize how folders and files are displayed
You can open Finder by clicking the Finder icon in the Dock. Clicking the desktop can also activate Finder, after which Finder-related options appear in the menu bar.
A Quick Look at the Finder Interface
When you open a Finder window, you’ll notice several sections designed to make navigation easier.
Sidebar
The sidebar provides shortcuts to commonly used locations. Depending on your settings, it can include folders such as Desktop, Documents, Downloads, Applications, iCloud Drive, external storage, and connected devices.
You can customize the sidebar by adding or removing locations you frequently use.
Toolbar
The toolbar contains commonly used controls for navigating and managing files. Depending on the Finder window and your settings, you can use it to change the view, create folders, share items, and perform other actions.
Search
The search field allows you to look for files without manually opening multiple folders. You can search using a file name, keyword, tag, or other available criteria.
Preview
The Preview area can show information about a selected file without requiring you to open it fully. This can be particularly convenient when checking photos, documents, or other supported file types.
Choose the Best Way to View Your Files
Finder lets you change the way files are displayed. The right view depends on what you’re doing.
Icon View: Displays files and folders as icons. It can be useful when working with images or when you prefer a visual layout.
List View: Displays additional details, including file names, sizes, dates, and file types.
Column View: Shows folders and their contents in columns, making it convenient to navigate through several levels of folders.
Gallery View: Provides a larger preview of selected files and can be helpful when browsing photos and other visual content.
You can also sort or group items according to options such as name, size, type, or modification date.
Find Files Without Searching Through Every Folder
Looking through dozens of folders to find one document can be frustrating. Finder’s search feature can save you that time.
Enter a word or file name in the Finder search field and macOS will display matching results. You can narrow the search using available filters and locations.
For searches that go beyond Finder, Spotlight can also help you locate files, applications, settings, and other information on your Mac.
Open a Folder by Its Exact Path
If you already know where a folder is located, Finder’s Go to Folder option can take you there directly.
For example, entering:
~/Downloads
will open your Downloads folder.
This can be especially useful when working with folders that are buried several levels deep.
Use Tags to Keep Important Files Organized
Finder tags provide another way to organize files without physically moving them into separate folders.
You can assign a tag to a file or folder and later search for that tag. For example, you could use tags for work documents, projects, personal files, or items that need attention.
This approach can be useful when a file belongs to more than one category but you don’t want to create multiple copies of it.
Smart Folders Can Organize Files Automatically
A Smart Folder works differently from a regular folder. Instead of manually placing files inside it, you create rules that determine which files should appear.
For example, you could create a Smart Folder that displays documents matching certain criteria, such as recently modified files or particular file types.
When files meet those conditions, they can appear in the Smart Folder automatically. This makes the feature useful for keeping track of frequently changing files.
Make Finder More Convenient
Finder offers several customization options that can make your workflow more comfortable.
You can create aliases for files or folders that you access regularly. An alias works as a shortcut to the original item, so you don’t have to move or duplicate the original file.
You can also customize certain folder and file appearances, depending on the version of macOS you’re using.
A simple customization can make frequently used locations much easier to access.
Finder Keyboard Shortcuts Worth Learning
If you regularly work with files, keyboard shortcuts can save quite a bit of time.
| Shortcut | Action |
|---|---|
| Command + N | Open a new Finder window |
| Command + T | Open a new Finder tab |
| Command + F | Search |
| Command + I | Show file information |
| Command + 1 | Icon View |
| Command + 2 | List View |
| Command + 3 | Column View |
| Command + 4 | Gallery View |
| Command + Shift + D | Open Desktop |
| Command + Shift + O | Open Documents |
| Command + Shift + L | Open Downloads |
| Command + Shift + F | Open Recents |
You don’t need to memorize every shortcut immediately. Start with the ones you use most often and add more over time.
Manage Your iPhone or iPad Through Finder
Modern versions of macOS use Finder to manage supported Apple devices connected to a Mac.
When you connect an iPhone or iPad, the device can appear in Finder’s sidebar. Depending on the device and macOS version, you can use Finder to manage options such as backups and supported syncing features.
After configuring certain settings, some device management tasks can also be performed over Wi-Fi.
How to Delete and Restore Files
When you no longer need a file, you can move it to the Trash from Finder.
However, deleting a file doesn’t mean you should immediately empty the Trash. If you accidentally remove something important, you may be able to restore it using Put Back, provided the item is still in the Trash.
Before emptying the Trash, take a moment to check its contents. Once you permanently remove items from the Trash, recovering them may require other backup or recovery options.
Tips for Using Finder More Efficiently
A few simple habits can make Finder much easier to use:
- Keep frequently used folders easy to access through the Finder sidebar.
- Use meaningful file names so documents are easier to locate later.
- Use tags when folders alone aren’t enough for organization.
- Try List View when you need to compare file details.
- Use search instead of manually checking every folder.
- Learn a handful of keyboard shortcuts for repetitive tasks.
- Check the Trash before emptying it permanently.
- Use aliases for files and folders you open regularly.
Also Read: How to Lock a Folder in Windows 11: Best Methods to Secure Your Private Files
Final Thoughts
Finder is much more than a simple folder browser. It provides the tools you need to manage files, search for documents, organize folders, work with external storage, and interact with supported Apple devices.
Once you become familiar with Finder’s views, search tools, tags, Smart Folders, and keyboard shortcuts, everyday file management on a Mac becomes considerably easier. You don’t need to learn every feature at once—start with the basics and gradually incorporate the tools that fit your workflow.
Advertisements