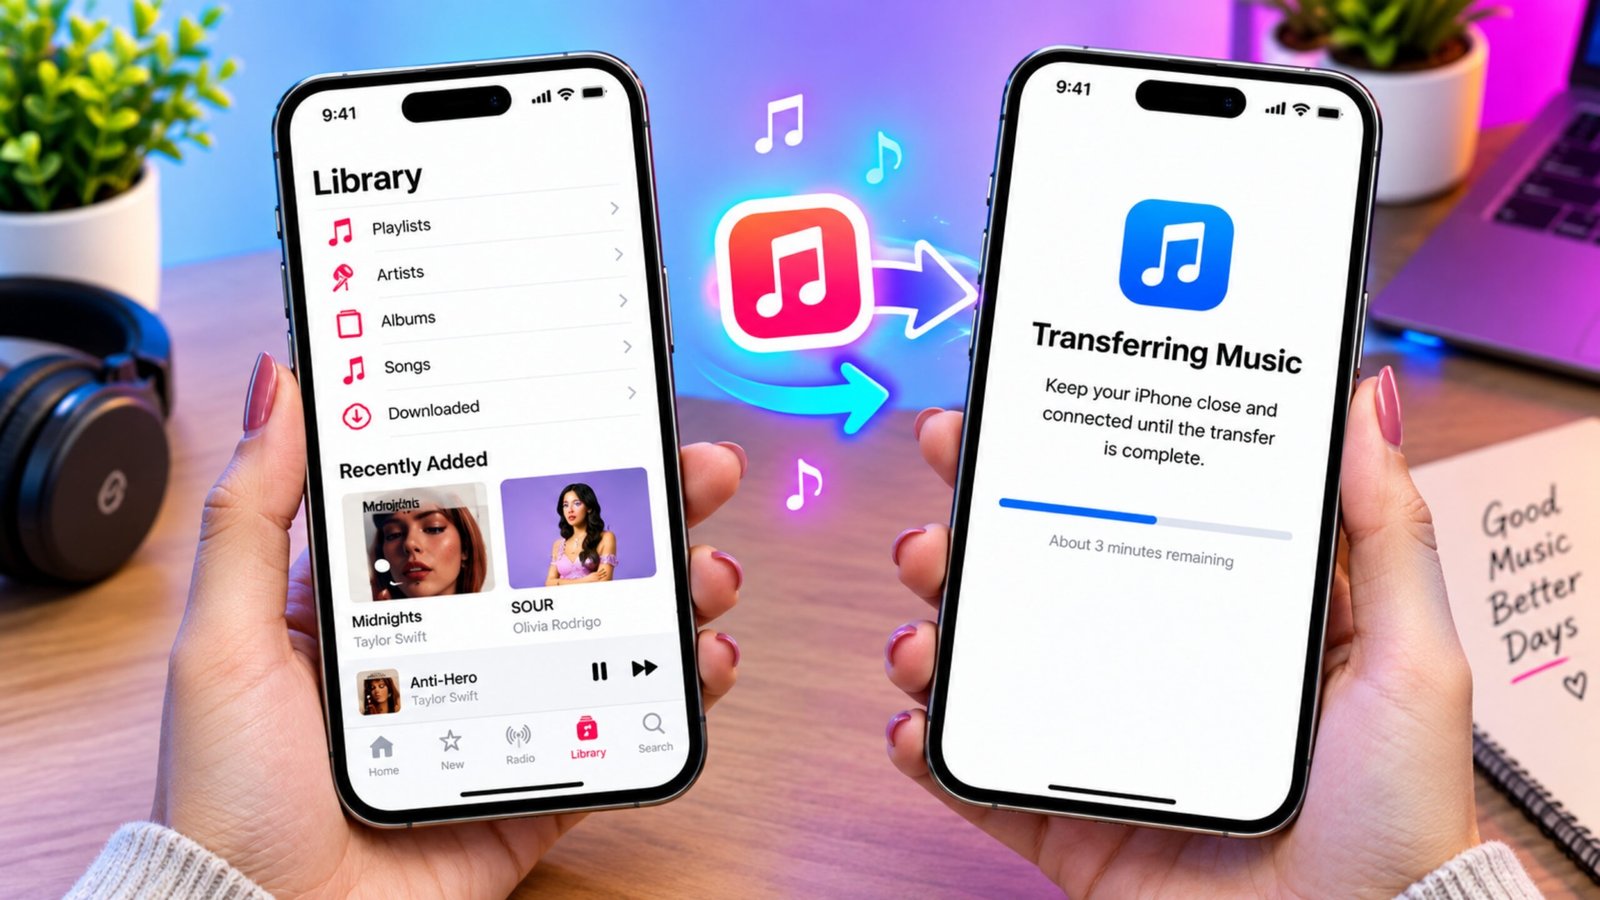
Moving your music to a new iPhone can be simple, but the right method depends on where your songs came from. Music downloaded through Apple Music, songs purchased from the iTunes Store, and files copied from CDs or other sources are handled differently.
If you are setting up a new iPhone, you usually won’t need to move every song manually. Apple Music can sync your library, while purchased tracks can be downloaded again using the same Apple Account. For music stored outside Apple’s services, a computer or cloud storage may be more suitable.
Also Read: How to Clear Cache on Android and Free Up Storage
Which Method Should You Use?
Before starting, check where your music comes from:
- Apple Music: Use Sync Library.
- iTunes Store purchases: Redownload your purchased songs.
- CD-ripped or locally stored music: Use a computer-based transfer method.
- Spotify, YouTube Music, or similar services: Sign in to the same account.
- Individual music files: Cloud storage can be useful.
Knowing the source first can save you from trying a transfer method that doesn’t support your particular music collection.
Sync Apple Music to Your New iPhone
If you have an active Apple Music subscription, Sync Library is one of the easiest ways to get your music onto another iPhone.
The feature keeps your Apple Music library associated with your Apple Account. Once you sign into the same account on your new device and enable the required settings, your available library can appear there without manually moving every track.
Turn On Sync Library
On the iPhone containing your music:
- Open Settings.
- Scroll down and select Music.
- Look for Sync Library.
- Turn it on.
- Allow some time for your library to synchronize.
Now sign in to the same Apple Account on your new iPhone and make sure Sync Library is enabled there as well.
Open the Music app and give the library some time to appear. Depending on the size of your collection and your internet connection, synchronization may take a while.
Note: Sync Library is designed for Apple Music subscribers and works with the music associated with your Apple Music library. It is not the same as copying locally stored MP3 files from one iPhone to another.
Redownload Music You Bought From the iTunes Store
If you purchased songs through the iTunes Store, you generally don’t have to buy them again when moving to another iPhone.
Instead, sign in with the Apple Account that was used to purchase the music and download the tracks again.
Steps to Redownload Purchased Songs
On the new iPhone:
- Sign in with the original Apple Account.
- Open the iTunes Store app.
- Tap More.
- Choose Purchased.
- Select Music.
- Find the songs or albums you want.
- Tap the download icon beside a song or album.
The available purchases can then be downloaded to the new device.
Keep in mind that this method applies to music purchased through the iTunes Store. Music obtained from CDs, another computer, or other legitimate sources will need a different approach.
What About Music Ripped From CDs?
This is where transferring music can become slightly more complicated.
If you previously copied songs from CDs to your computer and then synchronized them to your iPhone, those tracks aren’t necessarily part of your Apple Music subscription or iTunes Store purchases.
In that situation, you’ll need access to the original music files on your computer or use suitable transfer software to move them to the new iPhone.
Transfer Local Music Using a Computer
For music that isn’t available through Apple Music or the iTunes Store, a computer can act as the middle point.
One approach is to first copy the music from your old iPhone to your computer and then move it from the computer to the new iPhone.
Third-party utilities such as TouchCopy can be used for this type of workflow. The exact features and limitations can vary depending on the software version, operating system, and iPhone setup, so check the current software documentation before relying on it for a large collection.
A typical workflow looks like this:
- Install the transfer software on your Mac or Windows PC.
- Connect your original iPhone.
- Select the music stored on the device.
- Copy the selected tracks to your computer.
- Disconnect the old iPhone.
- Connect the new iPhone.
- Use the appropriate Apple music-management or device-sync method to move the files onto the new device.
Be Careful With Music Synchronization
When using computer-based synchronization, pay attention to the library and sync settings.
Some synchronization methods can replace existing music on the destination iPhone rather than simply adding new tracks. Keeping a backup of your music collection before starting is a good precaution.
Transfer Music With a Windows PC
Windows users can also use compatible music-management software to copy local tracks between an iPhone and a PC.
For example, some third-party Windows music applications allow you to copy music from an iPhone to a folder on the computer and then transfer those files to another connected iPhone.
A general process is:
- Connect the old iPhone to your Windows PC.
- Open the compatible music-management application.
- Select the old iPhone.
- Choose the songs or albums you want to copy.
- Save them to a folder on the computer.
- Disconnect the old iPhone.
- Connect the new iPhone.
- Select the saved music.
- Transfer the chosen tracks to the new device.
The available options can differ between applications, so always review the software’s current instructions before beginning.
Use Home Sharing to Access Music
Home Sharing is another option if your main goal is to access a music collection stored on a Mac or Windows computer.
The important thing to understand is that Home Sharing is primarily for accessing or streaming your computer’s media library. It isn’t the same as permanently copying all of those songs onto your iPhone.
Set Up Home Sharing on a Mac
Depending on your macOS version, the settings may look slightly different.
Generally, you can:
- Open System Settings.
- Go to the relevant Sharing or media-sharing settings.
- Enable Media Sharing.
- Turn on Home Sharing.
- Sign in with your Apple Account.
Older versions of macOS may use System Preferences instead.
Windows users can use compatible Apple media software for Home Sharing setup.
Access the Shared Library on iPhone
Once Home Sharing has been configured:
- Connect the devices to the same Wi-Fi network.
- Open the Music app.
- Look for the shared library option.
- Select the computer containing your music.
If the option isn’t immediately visible, check the available editing or library customization options in the app.
Remember that Home Sharing is useful for accessing music from another device, but it does not necessarily create offline copies of those songs on the iPhone.
What If You Use Spotify or YouTube Music?
Music streaming services work differently because your playlists and saved tracks are linked to your account.
If you use services such as Spotify, YouTube Music, or Deezer, you normally don’t need to transfer individual music files.
Instead:
- Install the service’s app on your new iPhone.
- Sign in with your existing account.
- Open your library or playlists.
- Download music again if the service supports offline listening.
Your account-based library can then become available on the new device.
This isn’t technically a file-to-file transfer. The service simply gives your new iPhone access to the music associated with your account.
Move Music Through Cloud Storage
Cloud storage can be helpful when you have individual audio files that you want to access on another iPhone.
You can first copy the files from your old device or computer to a service such as Google Drive or Dropbox. Then install the same cloud-storage app on your new iPhone and sign into the same account.
Basic Cloud Transfer Process
- Upload your music files to cloud storage.
- Install the cloud app on your new iPhone.
- Sign in to your account.
- Find the uploaded songs.
- Download or save the files to your iPhone.
The main limitation is that saving an audio file to the device doesn’t necessarily place it inside the Apple Music library.
Depending on the file and app you’re using, it may instead remain accessible through the Files app or the cloud-storage application.
Save a Music File From Dropbox
For individual files, Dropbox can be convenient.
On your new iPhone:
- Open the Dropbox app.
- Locate the uploaded audio file.
- Tap the three-dot menu beside it.
- Choose the available download or export option.
- Select Save to Files if offered.
- Choose a folder on your iPhone.
You can then access the audio file through the Files app.
Can You AirDrop Music From One iPhone to Another?
AirDrop can transfer many types of files between Apple devices, but it doesn’t work as a straightforward way to copy songs from the Music app’s protected library into another person’s Music library.
When you use the sharing option for some music, you may instead be sharing information about the song, such as a link that opens the track in Apple Music.
This is different from sending the actual protected music file.
For purchased music, the Apple Account used to obtain the purchase is important. On a new iPhone, you generally need to use that same account to access eligible purchases again.
Which Transfer Option Fits Your Music?
The best method depends mainly on the source of your songs:
| Music Source | Suitable Approach |
|---|---|
| Apple Music library | Sync Library |
| iTunes Store purchases | Redownload purchases |
| Spotify/YouTube Music/Deezer | Sign in to the same account |
| CD-ripped music | Computer or compatible transfer software |
| Local MP3/audio files | Computer or cloud storage |
| Music stored on a computer | Home Sharing or computer-based transfer |
Also Read: How to Create and Organize Saved Place Lists in Google Maps on iPhone
Final Thoughts
Transferring music between two iPhones isn’t always a matter of simply copying files from one device to another. The source of the music determines which method is available.
For an Apple Music library, Sync Library is usually the simplest route. Purchased iTunes Store songs can be downloaded again with the original Apple Account. For CD-ripped and other locally stored music, a computer-based method or compatible transfer software may be necessary.
If you only need to move a few audio files, cloud storage can also be a practical option. Before transferring a large collection, keep a backup of your original music files so you don’t accidentally lose anything during synchronization.
Advertisements