If you have stopped using Dropbox on your Mac, uninstalling the app is a fairly simple process. However, dragging Dropbox to the Trash may not remove every file associated with the application. macOS can keep preferences, cache files, extensions, and other supporting data in different Library folders.
If your goal is to completely remove Dropbox, you can uninstall the app first and then manually check for files that are clearly related to it.
Before deleting anything, though, make sure your important Dropbox files are backed up or safely stored in the cloud.
Also Read: How to Use Finder on Mac: A Complete Beginner-Friendly Guide
Before You Remove Dropbox, Check Your Files
Uninstalling the Dropbox application does not normally delete your Dropbox account. Your online account remains separate from the application installed on your Mac.
However, you should be careful with the local Dropbox folder. It may contain files that are stored or synced on your Mac.
If you are moving your files to another service such as iCloud Drive, Google Drive, or OneDrive, wait until the transfer or backup has completed successfully.
It is also a good idea to close Dropbox before uninstalling it. This prevents the app from continuing to run while you are trying to remove its files.
Step 1: Sign Out and Quit Dropbox
Start by closing Dropbox properly.
- Click the Dropbox icon in the Mac menu bar.
- Open Preferences or Settings.
- Look for the account section and sign out if the option is available.
- Quit Dropbox completely.
If the application refuses to close, you can use Activity Monitor:
- Press Command + Space and search for Activity Monitor.
- Open the application.
- Search for processes containing Dropbox.
- Select a Dropbox-related process that you recognize.
- Click the Stop button and choose the appropriate quit option.
Once Dropbox is no longer running, you can proceed with the uninstall.
Step 2: Delete the Dropbox Application
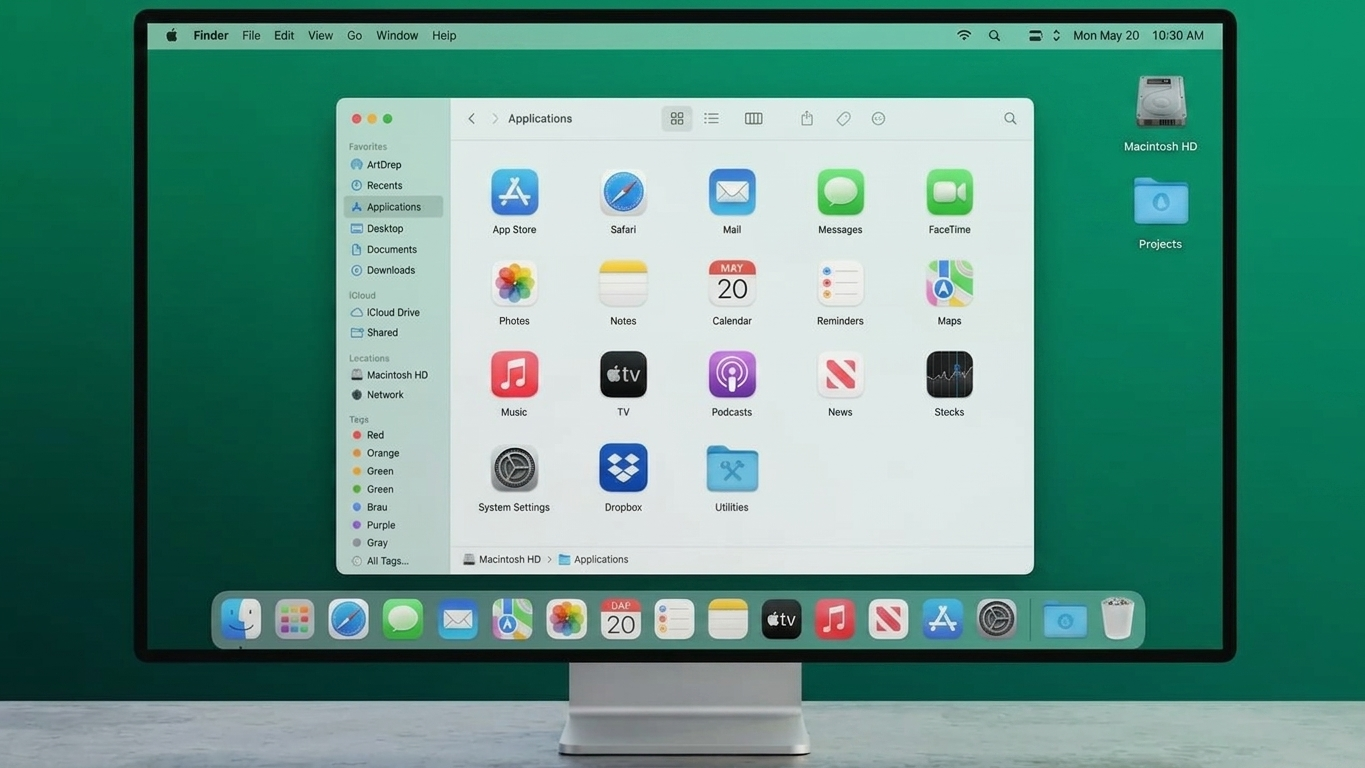
The main application can be removed directly through Finder.
- Open Finder.
- Select Applications from the sidebar.
- Locate Dropbox.
- Drag it to the Trash.
- Enter your Mac password if macOS requests authorization.
This removes the main Dropbox application, but there may still be related files elsewhere on the Mac.
Step 3: Look for Dropbox Files in Your User Library
macOS stores application data in several Library locations. Some Dropbox-related files may remain after the app has been deleted.
To access your personal Library:
- Open Finder.
- Click Go in the top menu.
- Hold down the Option key.
- Click Library.
Inside the Library, you can check folders such as:
- Application Support
- Caches
- Preferences
- Saved Application State
- Logs
- Containers
- Group Containers
- Application Scripts
- LaunchAgents
Search for items that are clearly connected to Dropbox.
You might also encounter a hidden folder or file with a name such as .dropbox. Only remove it when you are certain that it belongs to Dropbox.
Be Careful With Library Files
Not every unfamiliar file is related to Dropbox. Avoid deleting random folders or system files simply because their names look unfamiliar.
If you are unsure about an item, leave it alone rather than risking problems with another application or macOS.
Step 4: Check the Main System Library
Some installations may have placed supporting components in the system-wide Library.
In Finder:
- Click Go.
- Select Go to Folder.
- Enter
/Library. - Look for files or folders that you can confidently identify as Dropbox-related.
The exact files you find can vary depending on your Dropbox version and macOS release. Older installations may have additional helper components.
Only remove something when its connection to Dropbox is clear.
Step 5: Remove Dropbox From Login Items and Extensions
Dropbox can integrate with macOS features and may have background components or Finder-related extensions.
On recent versions of macOS, check:
System Settings → General → Login Items & Extensions
Look through the available entries for anything associated with Dropbox.
If a Dropbox background item or extension is still listed after uninstalling the application, you can disable or remove it where macOS provides that option.
The names and available controls may differ between macOS versions, so don’t worry if your settings screen looks slightly different.
Step 6: Decide What to Do With the Dropbox Folder
This is the step where you should be especially careful.
Deleting the Dropbox app is different from deleting the Dropbox folder that contains your synced files.
To locate your home folder, press:
Command + Shift + H
Then look for the Dropbox folder.
Before deleting it, open the folder and check what is stored there. Make sure important documents, photos, videos, or other files are available through your Dropbox account or have been backed up somewhere else.
If you’re transferring your data to another cloud-storage provider, confirm that the transfer has finished before removing the local files.
Do not delete the Dropbox folder simply because you have uninstalled the application. Check your files first.
Step 7: Empty Trash and Restart macOS
Once you’ve removed the Dropbox application and any leftover files that you have confidently identified:
- Open the Trash.
- Review the items one final time.
- Empty the Trash.
- Restart your Mac.
Restarting can help macOS close any remaining processes and refresh system services.
After the Mac starts again, check your Applications folder and Login Items & Extensions settings if you want to confirm that Dropbox is no longer active.
Is a Third-Party Mac Uninstaller Necessary?
No. You can uninstall Dropbox manually without installing another application.
A reputable Mac uninstaller can make the process more convenient by searching for associated files, but automatic cleanup isn’t essential. If you choose to use such a tool, review what it wants to remove before confirming the deletion.
This is particularly important because automated scanners can sometimes identify files that you may want to keep.
Will Uninstalling Dropbox Delete Your Dropbox Account?
No. Removing the Dropbox application from your Mac does not normally close or delete your Dropbox account.
Your account and cloud-stored data are separate from the Dropbox application installed on your computer.
The important distinction is between uninstalling the app and deleting local files. Removing the application is generally straightforward, while deleting the local Dropbox folder requires more care because it contains your synced data.
Quick Checklist for Completely Removing Dropbox
Before considering the process finished, check these points:
- Dropbox has been signed out and completely closed.
- The Dropbox app has been removed from Applications.
- Dropbox-related files in your user Library have been reviewed.
- Any clearly identifiable Dropbox system components have been checked.
- Login Items and Extensions have been reviewed.
- Important files in the local Dropbox folder have been backed up or verified online.
- The Trash has been emptied.
- The Mac has been restarted.
Also Read: How to Connect Amazon Echo to Wi-Fi: Complete Setup Guide for Beginners
Final Thoughts
Removing Dropbox from a Mac doesn’t have to be complicated. The safest approach is to first protect your files, then sign out and quit Dropbox before deleting the application from Finder.
Afterward, you can inspect the relevant Library folders and macOS settings for leftover Dropbox components. Just avoid deleting files unless you can confidently identify them as belonging to Dropbox.
Most importantly, don’t rush to delete the local Dropbox folder. Check your files and backups first, especially if you’re moving to a different cloud-storage service. A few minutes of checking can prevent the accidental loss of files you still need.

Sourav Gorai, founder of sabhigyan.com, is passionate about technology, smartphones, apps, and digital tools. With 8+ years of experience in the digital and tech space, he focuses on creating easy-to-understand, practical, and helpful content that makes everyday technology simpler for readers.