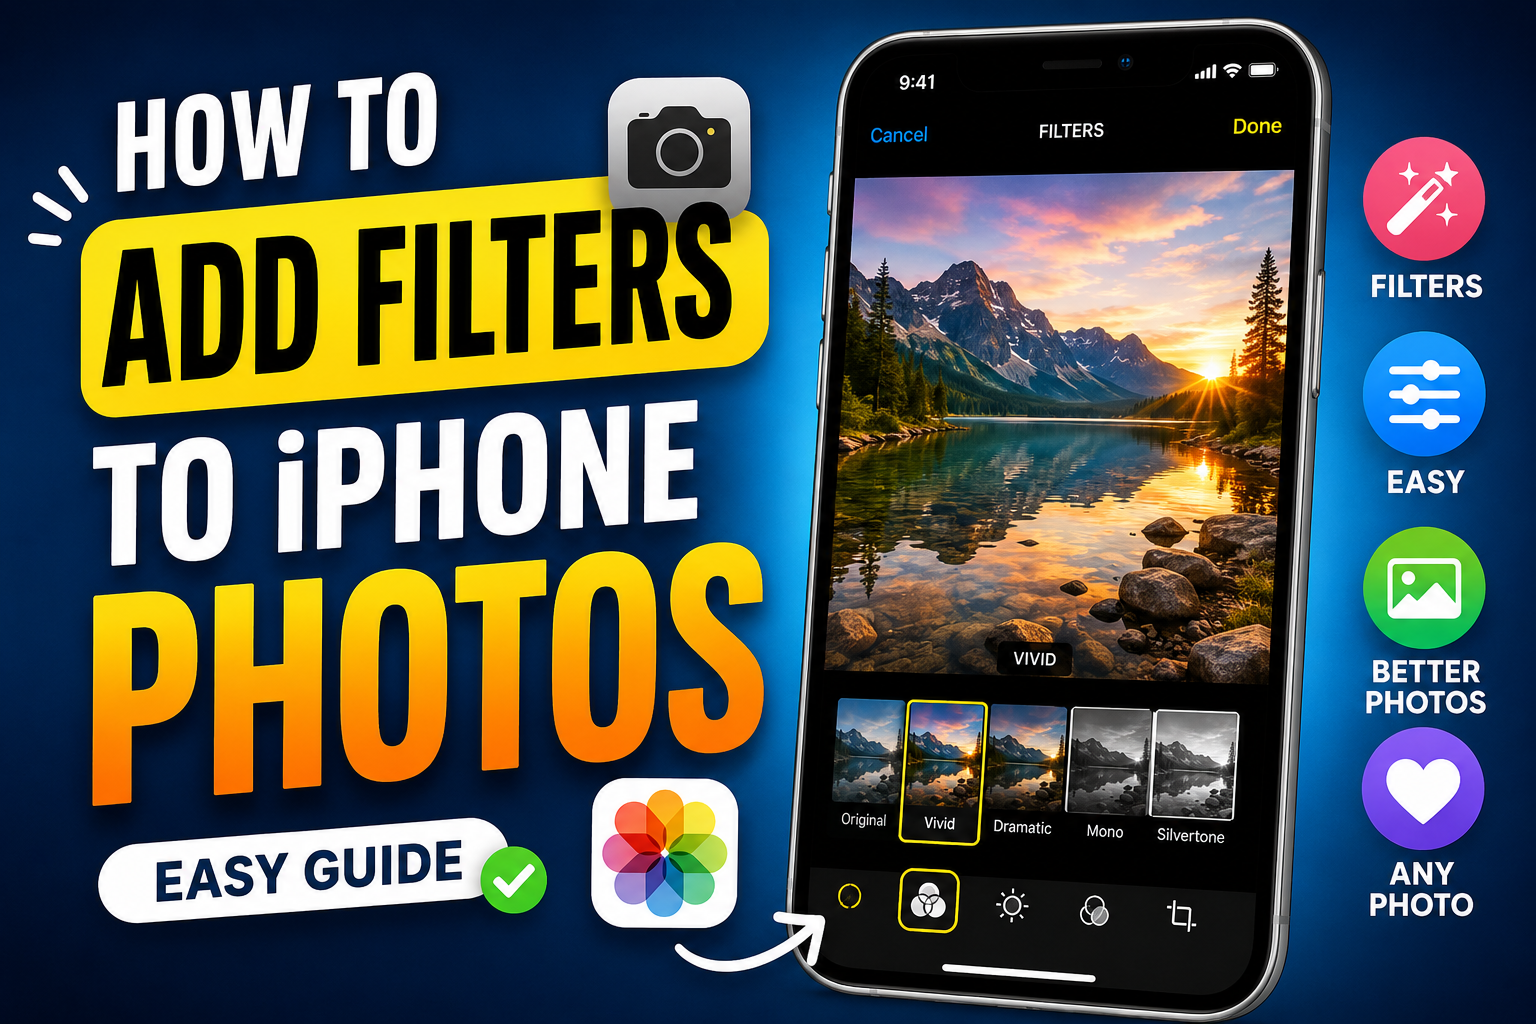
Your iPhone already comes with several built-in photo filters, so you don’t need a separate editing app just to give your pictures a different look. With a few taps, you can make colors more vibrant, create a dramatic appearance, or turn a photo into black and white.
Whether you want to edit a newly captured picture or improve an older photo from your gallery, the Photos and Camera apps make the process simple.
Also Read: How to Use Focus Mode in Microsoft Word for Distraction-Free Writing
What Are iPhone Photo Filters?
A photo filter is essentially a preset combination of visual adjustments. Instead of manually changing brightness, contrast, color, and other settings one by one, you can select a ready-made look.
Depending on the filter, a picture can appear:
- More colorful and vibrant
- Darker or more dramatic
- Warmer or cooler
- Softer and more subtle
- Completely monochrome
Filters can save time, especially when you are editing several everyday photos. However, using a filter is not always necessary. If a picture already has good lighting and natural colors, leaving it untouched may produce the best result.
Apply a Filter Before Taking a Photo
If you already know the kind of look you want, you can preview a filter while using the Camera app.
- Open the Camera app on your iPhone.
- Look for the filter icon, represented by three overlapping circles.
- Tap the icon to display the available filter styles.
- Swipe through the options to preview how your scene changes.
- Select the filter you like.
- Frame your subject and press the Shutter button.
The photo will be captured with the selected camera effect.
This approach can be useful when you want several photos from the same session to have a similar appearance.
Some Built-In Filters You May See
The exact options can vary depending on the iOS version and device, but common choices include:
Vivid: Gives colors and contrast a stronger appearance.
Dramatic: Creates a more pronounced look by emphasizing contrast and tonal differences.
Mono: Produces a black-and-white appearance.
Try previewing several options instead of automatically choosing the strongest effect. The best filter usually depends on the lighting, subject, and overall mood of the photograph.
Add a Filter to a Photo You Already Took
You don’t have to apply a filter while taking the picture. Existing images in your Photos library can also be edited.
Here’s how:
- Open the Photos app.
- Select the picture you want to edit.
- Tap Edit.
- Find the Filters option, shown with the overlapping-circles icon.
- Swipe through the available filters.
- Tap a filter to preview its effect.
- If your iPhone provides an adjustment control for the selected filter, use it to make the effect stronger or weaker.
- Tap Done when you’re happy with the result.
Your edited version will appear in your Photos library.
For a more natural result, avoid automatically choosing the most intense setting. A lighter effect can preserve the original appearance while still improving the overall look.
How to Undo a Filter
Changed your mind after applying a filter? You can cancel the edit.
If you’re still inside the editing screen, tap Cancel and choose the option to discard the changes when prompted.
For a photo that has already been saved with edits, open it again in Photos, tap Edit, and look for Revert. Choosing Revert to Original removes the previous edits and restores the original version.
This makes it easy to experiment without permanently losing the original photograph.
Can You Change One Filter to Another?
Yes. You can try different filters on an edited picture without having to start over.
Open the photo, select Edit, and go back to the filter section. Tap another option and compare the result. If you prefer the new look, save the edit; otherwise, you can cancel or revert the changes.
This is particularly helpful when you’re unsure whether a photo looks better with a vibrant, dramatic, or monochrome treatment.
Get More Filters With Third-Party Apps
Apple’s built-in options are convenient, but they aren’t the only choice. If you want more creative control, several photo-editing apps offer additional presets, effects, and manual adjustment tools.
Some well-known options include:
- VSCO – Known for a broad selection of photography presets and editing controls.
- Snapseed – Offers detailed editing tools along with preset-style effects.
- Adobe Lightroom – Provides more advanced controls for users who want to fine-tune photographs.
Features, pricing, and available tools can change over time, so check the current App Store listing before installing an app.
Use Compatible Editing Extensions From Photos
Some photo-editing apps can work with Apple’s Photos editing system through supported extensions. This can allow you to access additional editing tools without completely changing your normal workflow.
The exact menus can vary by iOS version and installed apps, but the general process is:
- Open Photos and select an image.
- Tap Edit.
- Look for the three-dot menu or additional editing options.
- Check whether your installed editing apps are available.
- Select a compatible app or extension.
- Apply the desired filters or adjustments.
- Save the result when you’re finished.
If an app doesn’t appear in the menu, it may not support Photos extensions on your particular iPhone or iOS version.
Popular Apps for Creative Photo Effects
Different editing apps are designed for different purposes. For example:
Prisma is geared toward artistic effects that can give ordinary photographs a more stylized appearance.
Afterlight offers a mixture of filters and traditional photo-adjustment tools.
Camera+ combines camera controls with editing features and can be useful for people who want more control while capturing and editing photos.
Litely focuses on relatively subtle photo improvements and provides multiple levels of adjustment.
Halftone is aimed at comic-book and halftone-style effects rather than traditional photography enhancement.
Before choosing an app, consider whether you need simple presets or more advanced editing controls.
Don’t Stop With a Filter
A filter doesn’t have to be the final step in your editing process. Sometimes a small manual adjustment can make a filtered photo look much better.
For example, you could slightly change:
- Brightness if the image is too dark
- Contrast if the subject lacks definition
- Saturation if the colors need a little more or less intensity
- Warmth if the image feels too cool or too warm
The key is moderation. Increasing several settings dramatically at the same time can make an image look unnatural.
Choose Filters According to the Type of Photo
There isn’t one filter that works perfectly for every picture. Different subjects often benefit from different treatments.
| Photo Type | Possible Approach |
|---|---|
| Beach and summer photos | Warm or vibrant effects |
| Winter landscapes | Cooler tones |
| Portraits | Soft and subtle adjustments |
| Food photography | Slightly warmer, richer colors |
| Travel pictures | Vibrant or moderately dramatic effects |
| Formal photographs | Subtle or monochrome treatments |
These are simply starting points. Your lighting and personal style should ultimately determine which look works best.
Should You Use RAW or ProRAW?
If you regularly perform advanced edits, RAW photography can provide greater flexibility because it preserves more image information for post-processing.
On supported iPhone Pro models, Apple’s ProRAW format is designed for photographers who want additional control during editing. However, RAW files are generally larger and are unnecessary for most casual photography.
For everyday pictures, the standard photo formats on an iPhone are more than sufficient for basic filters and adjustments.
Common Mistakes to Avoid
Using Too Many Effects
A heavy filter can easily overpower the original photograph. If the image starts looking artificial, reduce the intensity or choose a subtler option.
Ignoring Natural Lighting
Not every photograph needs editing. Pictures taken during attractive natural lighting, such as around sunset, may already have pleasing colors and contrast.
Applying the Same Filter Everywhere
Using one filter on every image can sometimes make different subjects look unnatural. Consider the lighting and subject before choosing an effect.
Forgetting to Compare the Original
Before saving an edit, compare it with the original image. This makes it easier to decide whether the filter is actually improving the photograph.
Also Read: How to Transfer Photos from iPhone 16 to a Laptop: Easy Methods
Final Thoughts
Adding a filter to an iPhone photo is a quick way to change its overall appearance without learning complicated editing techniques. You can preview effects while taking a new picture or apply them later through the Photos app.
For everyday editing, Apple’s built-in filters are usually enough. If you want a wider selection of presets or more detailed adjustments, third-party apps can provide additional options.
The best results usually come from small, intentional changes rather than heavy effects. Start with a filter, compare it with the original, and adjust the intensity until the photograph still feels natural.

Sourav Gorai, founder of sabhigyan.com, is passionate about technology, smartphones, apps, and digital tools. With 8+ years of experience in the digital and tech space, he focuses on creating easy-to-understand, practical, and helpful content that makes everyday technology simpler for readers.
Advertisements