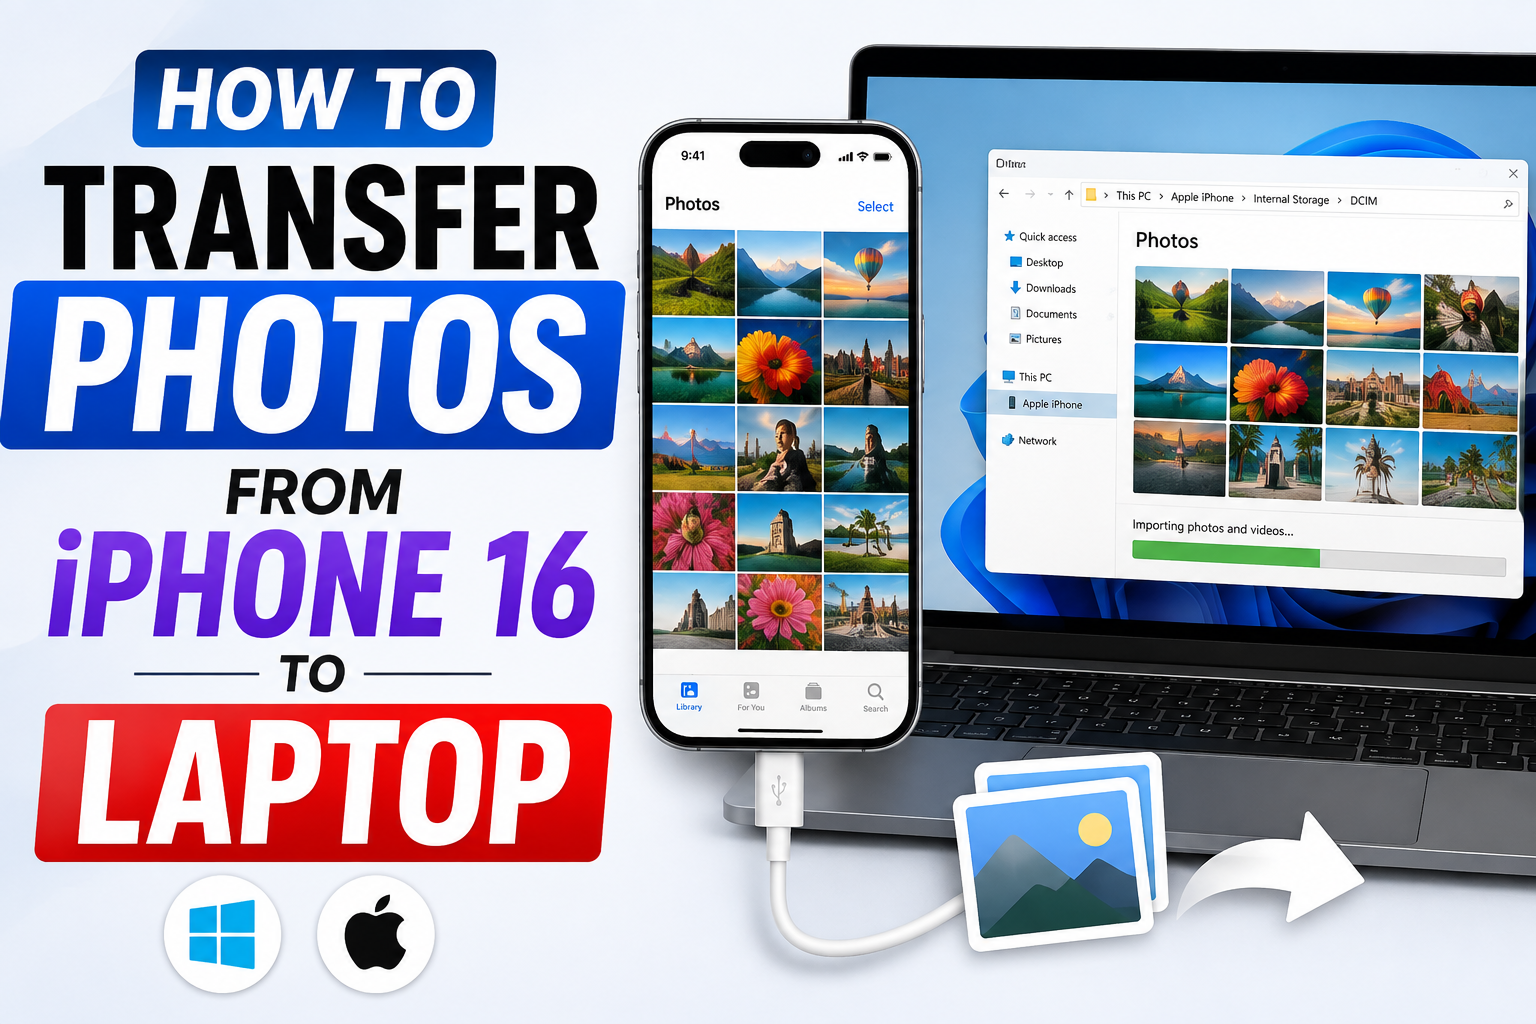
Your iPhone 16 can quickly become packed with photos and videos, especially if you regularly capture high-resolution images. Transferring those files to a laptop gives you more storage space and makes it easier to organize, edit, back up, or share your memories.
The good news is that you don’t need any complicated software. You can move photos using a USB-C cable, iCloud, AirDrop on a Mac, or File Explorer on Windows.
Also Read: How to Check Storage on iPhone 16: A Complete Guide
Which Method Should You Use?
The best option depends on what laptop you have and how many files you want to move.
- USB-C cable: Best for large photo and video collections.
- iCloud Photos: Convenient if you want automatic syncing.
- AirDrop: Handy for sending a few photos to a Mac.
- File Explorer: Useful for manually copying photos on Windows.
- Image Capture: A simple alternative for Mac users.
Method 1: Move Photos Using a USB-C Cable
A wired connection is generally the simplest choice when you need to transfer a large number of files. It doesn’t depend on your internet connection and can be more convenient for big videos.
1. Connect the iPhone 16 to Your Laptop
Connect your iPhone 16 to the laptop with a compatible USB-C cable.
If the iPhone starts charging after you plug it in, that’s normal. Make sure the phone is unlocked before continuing.
2. Give Your Laptop Permission
After connecting the devices, unlock your iPhone with Face ID or your passcode.
You may see a prompt asking whether you want to Trust This Computer. Tap Trust and enter your passcode when requested.
This permission allows the computer to access content from the iPhone.
3. Open the Photo Import Option
The next step depends on your operating system.
On Windows:
- Open the Photos app.
- Look for the Import option.
- Select your connected iPhone when it appears.
You can also use File Explorer to access the iPhone’s storage.
On Mac:
- Launch the Photos app.
- Select your iPhone from the available devices.
- Wait for the photos to load.
If you want more direct control over where individual files are saved, Image Capture is another option.
4. Choose What You Want to Copy
Once your photos appear, select the pictures and videos you want to transfer.
Depending on the application, you may also see an option to import all available new items. This can save time if you’re moving a large collection.
5. Begin the Import
Select Import, Import Selected, or the equivalent option shown by your laptop.
The amount of time required depends on the number and size of the files. Large videos can take considerably longer than ordinary photos.
Keep the iPhone connected until the transfer has finished.
6. Confirm the Transfer
When the process is complete, open the location where your files were imported and check a few photos and videos.
On Windows, the files may be available through the Pictures folder or the Photos app. On Mac, imported images normally appear in the Photos library unless you selected another destination.
Method 2: Transfer Photos with iCloud Photos
If you don’t want to connect your iPhone with a cable, iCloud Photos can be a convenient alternative.
On your iPhone, go to:
Settings → [Your Name] → iCloud → Photos
Make sure photo syncing is enabled.
If you’re using a Mac and signed in with the same Apple Account, your iCloud Photos can appear in the Photos app after synchronization.
For a Windows laptop, Apple’s iCloud software can be used to access and sync iCloud Photos.
Keep in Mind
iCloud works through synchronization rather than simply acting like a USB copy. Changes made to photos on one device can be reflected across other devices using the same iCloud Photos library.
So, check your iCloud settings before deleting or modifying important pictures.
Method 3: Send Photos from iPhone 16 to a Mac with AirDrop
AirDrop is particularly useful when you only need to send a handful of photos or videos to a nearby Mac.
Here’s how:
- Open the Photos app on your iPhone.
- Select the pictures or videos.
- Tap the Share button.
- Choose AirDrop.
- Select your Mac from the available devices.
- Accept the transfer on the Mac if prompted.
AirDrop is convenient for smaller transfers, but moving an entire photo library this way can be less practical than using a cable.
Method 4: Copy Photos Manually with File Explorer on Windows
Windows users can access the iPhone’s photo storage through File Explorer.
Follow These Steps
- Connect the iPhone 16 to your Windows laptop.
- Unlock the iPhone.
- Tap Trust if the permission message appears.
- Open File Explorer.
- Select Apple iPhone under This PC.
- Open Internal Storage.
- Look for the DCIM folder.
- Select the folders containing your photos.
- Copy them to a folder on your laptop.
This approach is useful when you want to manually manage the copied files rather than importing everything through the Photos app.
Method 5: Use Image Capture on a Mac
Mac users have another built-in option called Image Capture.
It’s useful when you want to transfer photos directly to a particular folder instead of importing them into the Photos library.
How to Use It
- Connect your iPhone to the Mac.
- Unlock the iPhone and approve the connection if necessary.
- Open Image Capture on the Mac.
- Select your iPhone from the device list.
- Choose the folder where you want to save the files.
- Select individual photos or choose Import All.
Afterward, open the destination folder to verify that the files were transferred correctly.
iPhone 16 Not Showing Up on Your Laptop? Try These Fixes
Sometimes the laptop may not recognize the iPhone immediately. Before trying anything complicated, go through these basic checks:
- Make sure the iPhone is unlocked.
- Disconnect and reconnect the USB-C cable.
- Try a different compatible cable.
- Use another USB port on the laptop.
- Restart both devices.
- Check whether the iPhone is asking you to approve the computer.
- Give the laptop a moment to recognize the connected device.
If the phone still isn’t detected, checking for available software or operating-system updates may also be worthwhile.
Common Transfer Problems
The iPhone Is Connected, but No Photos Appear
First, unlock the iPhone and check whether you need to approve the computer.
If you’re using Windows, you can also look inside the DCIM folder. Mac users can try the Photos app or Image Capture.
The Transfer Is Taking a Long Time
A large collection containing high-resolution photos and videos can take time to copy.
For substantial transfers, a wired connection is usually a practical choice. Avoid disconnecting the iPhone while the process is still running.
Some Photos Are Missing
If you use iCloud Photos, not every original file may necessarily be stored locally on the iPhone at the moment you’re trying to transfer it.
Allow syncing to complete and then check the photo library again.
Imported Photos Don’t Look the Same
Different applications can handle photo formats and Live Photos differently. If maintaining the original files is important, use a direct import method such as the Photos app, Image Capture, or the available original files through device storage.
Will Transferring Photos Delete Them from the iPhone?
Normally, no. Importing or copying photos to a laptop creates another copy of the files. The originals remain on the iPhone unless you specifically delete them.
If you’re planning to remove photos from your iPhone to free up storage, it’s a good idea to open several transferred files first and confirm that the backup is complete.
Can I Transfer Videos and Live Photos Too?
Yes. Videos and Live Photos can generally be transferred using the same methods.
However, the way Live Photos are represented or stored can depend on the application and destination you’re using. If preserving the original experience matters to you, check the transferred files before deleting the originals.
Tips for a Smooth Photo Transfer
A few simple habits can make the process safer and easier:
- Keep the iPhone unlocked when required during the transfer.
- Use a reliable USB-C cable.
- For a large transfer, make sure both devices have sufficient battery or connect them to power.
- Create folders by year, event, or month to keep your collection organized.
- Open some transferred photos and videos before deleting anything from the iPhone.
- Maintain another backup of especially important memories.
- If you use iCloud Photos, remember that deleting or editing synchronized content can affect other devices connected to the same photo library.
Also Read: How to Factory Reset iPhone 16 Safely: Step-by-Step Guide
Final Thoughts
Transferring photos from an iPhone 16 to a laptop doesn’t have to be complicated. For a large collection, connecting the phone with a USB-C cable is usually the most straightforward approach. Windows users can also copy files through File Explorer, while Mac owners can choose between Photos, Image Capture, and AirDrop depending on the situation.
If you prefer automatic synchronization, iCloud Photos can be more convenient. Choose the method that matches the number of files you’re moving and the type of laptop you use. Most importantly, verify that your important photos have been safely copied before removing them from your iPhone.

Sourav Gorai, founder of sabhigyan.com, is passionate about technology, smartphones, apps, and digital tools. With 8+ years of experience in the digital and tech space, he focuses on creating easy-to-understand, practical, and helpful content that makes everyday technology simpler for readers.
Advertisements