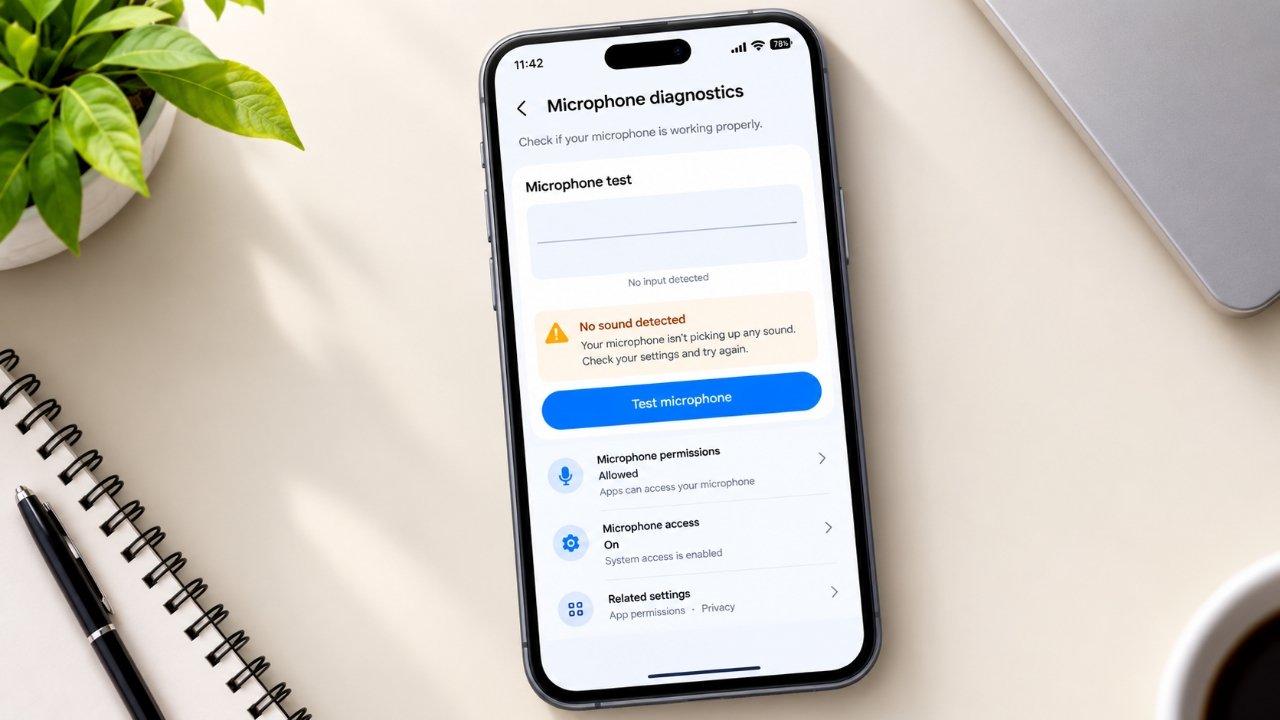
A microphone that suddenly stops working can be frustrating, especially when you need to make a call, send a voice message, or record something. However, a faulty microphone does not always mean that your phone needs a repair.
Software glitches, blocked microphone access, dust, moisture, phone cases, and problematic apps can all affect microphone performance. In some cases, the problem may even be limited to regular phone calls rather than the microphone itself.
Before visiting a repair center or performing a factory reset, try the following troubleshooting methods.
Also Read: How to Enable Theft Detection Lock on Android
Start by Finding Out Where the Problem Is
The first thing you should determine is whether the microphone has stopped working everywhere or only in a particular app.
This distinction is important because it can help narrow down the cause quickly.
For example, if your voice recorder captures audio normally but a messaging app cannot record voice messages, the microphone itself is probably working. The issue could instead be related to that app’s permissions or settings.
On the other hand, if recordings are silent, voice messages do not work, and people cannot hear you during calls, the problem may be more widespread.
Test the Microphone in Different Ways
Before changing any settings, perform a few simple tests.
Try the following:
- Open your phone’s built-in voice recorder and record your voice.
- Make a regular phone call and ask the other person whether they can hear you.
- Send a voice message through a messaging application.
- If possible, test the microphone in another recording or calling app.
Compare the results.
If your recording sounds clear but one application produces no sound, focus on that particular app. If every test fails, continue with the hardware and system-level checks below.
Remove the Phone Case and Check Your Grip
A phone case can sometimes partially cover one of the microphone openings. Even a small obstruction can make your voice sound unusually quiet or unclear.
Remove the case temporarily and record your voice again.
Also pay attention to how you hold the phone during calls. Your hand or fingers can accidentally cover a microphone opening, particularly when using the phone in landscape mode or holding it differently than usual.
Many Android phones have more than one microphone, so check the openings around the entire device rather than looking at only one location.
Check Whether the Problem Is Limited to Phone Calls
If the microphone works when recording but the other person cannot hear you during a normal call, your microphone may not be the main problem.
Poor cellular coverage or temporary network issues can sometimes affect call quality.
Try moving to an area with better signal strength and make another call. If recordings and voice messages continue working normally while only cellular calls are affected, investigate your network connection as well.
This simple comparison can prevent you from making unnecessary changes to your phone.
Make Sure the App Has Microphone Permission
Android allows you to control which applications can access your microphone. If permission has been denied, an app may not be able to record your voice.
To check it, open:
Settings → Apps → Select the affected app → Permissions → Microphone
The exact menu names can vary depending on your Android version and phone manufacturer.
If microphone access is denied, allow it and then reopen the application. Try recording a voice message or making a call again.
If the permission was already enabled, continue with the next steps.
Check the App’s Internal Settings
Some applications have their own audio or calling controls. A setting inside the app may affect how the microphone is used.
Open the application’s settings and look for options related to:
- Microphone
- Audio
- Calls
- Voice messages
- Privacy
- Connected devices
This is particularly worth checking if the microphone works normally in other apps.
Inspect Android’s Privacy Controls
Recent Android versions include additional privacy controls that can restrict microphone access.
Check your phone’s privacy settings and make sure microphone access has not been disabled at the system level.
Depending on your device, you may find microphone controls under Settings → Privacy or Settings → Security & privacy.
If system-level microphone access is turned off, applications may not be able to use the microphone even when their individual permissions appear correct.
Check the Phone’s Audio Settings
Audio settings are usually related to speakers rather than microphones, but checking them can help rule out other sound-related problems.
Open your phone’s sound settings and make sure there are no unusual configurations affecting calls or connected audio devices.
If your phone is connected to Bluetooth headphones, earbuds, a car system, or another audio device, disconnect it temporarily and test the microphone again.
This can help determine whether another device is handling the audio input.
Look for a Stuck Headphone Connection
Sometimes an Android phone may continue detecting a wired headset after it has been removed.
If you see a headphone symbol even though no wired headphones are connected, reconnecting and removing the headphones carefully may refresh the audio connection.
After disconnecting them, restart your phone if necessary and test the microphone again.
If your phone does not have a headphone jack, this particular step may not apply.
Think About Recently Installed Apps
Consider when the microphone problem began.
If it started shortly after installing a new application, that app could be worth investigating. Some applications request microphone access or may interfere with audio-related functions.
You can temporarily uninstall a recently installed app if you suspect it is responsible. Restart the phone afterward and test the microphone in several applications.
Avoid removing essential system applications or changing settings you do not recognize.
Check the Microphone for Dust and Lint
Small microphone openings can collect dust, pocket lint, and other debris over time. A blocked opening can reduce the quality of your recordings or make your voice difficult for others to hear.
Use a flashlight to inspect the microphone openings carefully.
If you can see loose debris, clean the area gently with a soft, dry brush. The goal is to remove material from the surface without pushing it deeper into the phone.
Avoid These Cleaning Mistakes
Do not use needles, pins, or other sharp objects inside the microphone opening.
You should also avoid:
- Pushing debris further into the phone
- Using excessive force
- Inserting metal objects
- Pouring liquid into the opening
- Blowing forcefully into the microphone with your mouth
Moisture from your breath can potentially enter the device, so gentle dry cleaning is preferable.
After cleaning, record another voice sample and compare it with your earlier recording.
Was the Phone Recently Exposed to Water?
Think about whether the phone was recently exposed to rain, a spill, humidity, or another source of moisture.
If the device has become wet, avoid charging it until you are confident that it has dried completely. Do not use excessive heat to speed up the drying process.
Once the phone is completely dry, test the microphone again.
If microphone problems remain after water exposure, internal components may have been affected. In that situation, professional inspection is safer than repeatedly testing or opening the phone yourself.
Restart Your Android Phone
A restart is one of the simplest troubleshooting steps, but it can resolve temporary software problems.
Restarting can refresh system processes and may restore microphone access if an application or Android service has temporarily stopped working correctly.
Use your phone’s normal Restart option and wait until Android has fully loaded.
Then test the microphone using at least two different applications.
A normal restart does not erase your photos, applications, or personal files.
Reset Relevant Phone Settings
If the microphone still does not work, you can consider resetting certain settings rather than immediately performing a factory reset.
Depending on your Android phone, reset options may be available under:
Settings → System → Reset options
The exact location and available choices differ between manufacturers.
Read the description carefully before confirming a reset. Some reset options can remove saved Wi-Fi networks, Bluetooth pairings, or other customized settings.
A settings reset is different from erasing the entire phone, so make sure you select the correct option.
Keep a Factory Reset as the Last Resort
A factory reset is much more drastic than resetting individual settings. It can erase personal information and remove installed applications from the device.
If you eventually decide to perform one, back up important information first. This can include:
- Photos and videos
- Contacts
- Documents
- Important messages or chats
- Other personal files
- Application data that is not already synchronized
A factory reset may resolve certain software-related problems, but it cannot repair a physically damaged microphone.
For that reason, it should generally be considered only after simpler troubleshooting methods have failed.
When Should You Get Professional Help?
If the microphone remains unusable after trying the basic solutions, the issue may be related to the phone’s hardware.
Professional inspection is worth considering if:
- Voice recordings remain silent in multiple apps.
- Other people cannot hear you during regular calls.
- Voice messages fail across different applications.
- Cleaning the microphone openings makes no difference.
- Restarting the phone does not help.
- Microphone permissions are already correct.
- A settings reset does not resolve the problem.
- The phone was recently exposed to water.
- The microphone opening or surrounding area appears physically damaged.
A technician can inspect the device and determine whether the microphone component or another internal audio part needs attention.
Quick Android Microphone Troubleshooting Checklist
Before taking your phone to a repair center, go through this list:
- Test the microphone with the voice recorder.
- Make a regular phone call.
- Try a voice message in another app.
- Check microphone permissions.
- Review Android’s privacy controls.
- Remove the phone case temporarily.
- Disconnect Bluetooth audio devices.
- Check for a stuck headphone connection.
- Inspect microphone openings for dust or lint.
- Clean visible debris gently.
- Consider recent water exposure.
- Check recently installed applications.
- Restart the phone.
- Reset relevant settings if necessary.
- Back up your data before considering a factory reset.
- Get professional assistance if the problem continues.
Also Read: How to Reduce Loud Sounds on iPhone With iOS 26
Final Thoughts
An Android microphone that stops working does not necessarily mean the hardware has failed. Start by testing it in different applications and during regular calls. This can help you determine whether the issue is related to one app, permissions, network conditions, physical blockage, or the phone itself.
Simple steps such as removing the case, checking microphone permissions, cleaning visible debris, disconnecting audio devices, and restarting the phone can sometimes resolve the problem.
If the microphone remains completely unresponsive across multiple applications, especially after water exposure or physical damage, professional inspection is the safer next step.

Sourav Gorai, founder of sabhigyan.com, is passionate about technology, smartphones, apps, and digital tools. With 8+ years of experience in the digital and tech space, he focuses on creating easy-to-understand, practical, and helpful content that makes everyday technology simpler for readers.